Wednesday, 24 May 2017

Chunky Vege and Bacon Hock Soup

So I was really tempted to name this post "The Vege Scraps Strike Again," but then I didn't. Ok so it is cold, like we just bought 10 boxes of thermals from Kathmandu cold. Seriously Rotorua makes Auckland feel like Bali, and it isn't even actually winter yet. 

With winter, comes soup season. Seriously though, there's nothing more inviting than coming home on a cold, wet, windy day and digging into a chunky, warm soup with some crusty bread. With soup recipes, a lot of them call for stock. This might just be me, but I personally feel like if you are going to make a soup with powdered stock, why don't you just have a continental cup a soup? Soup to me should be full bodied, nourishing and wholesome, but who on earth has time to make stock and then make soup? 


This is where the vege scrap stock strikes again... seriously I'm just a bit too obsessed with that phrase at the moment. Because you can make this stock when you get a spare minute and freeze it for months, it is literally at your disposal any time you need AND it literally costs nothing to make because as the name suggests, you make the stock from scraps. Check out my pea and lentil soup recipe for the vege scrap stock instructions. 
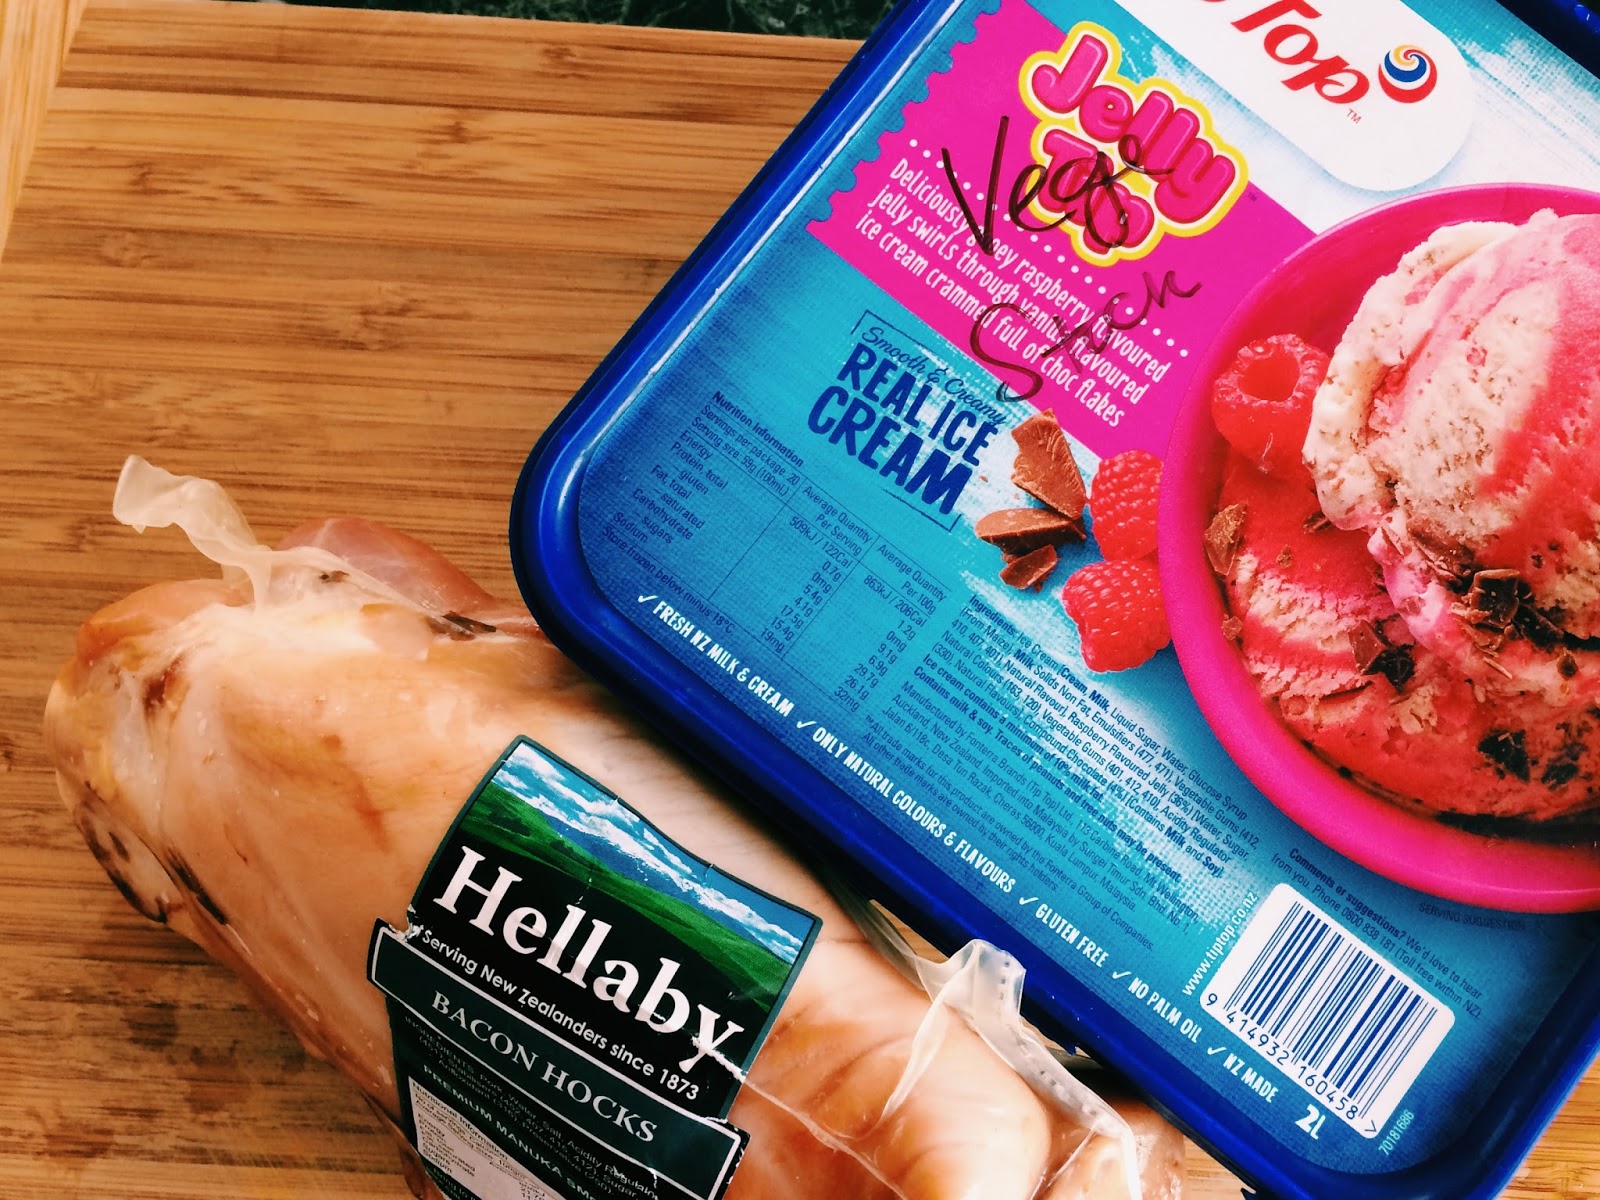


Jeremy has just started solids, so I've been making tonnes of baby food, so the idea of a thick pureed soup, didn't seem to appetizing for me. In my head I was almost thinking a minestrone type soup with chunks of bacon on the top. The slow cooker is also my favourite "baby is teething" kitchen appliance. 

Really, this soup could totally be made in the slow cooker if you didn't mind the vegetables completely broken down. All you would need to do is saute your veges, shallots, garlic and spices before they went in the slow cooker.

As you can see below, I didn't even bother defrosting my stock, I just let the slow cooker do the work for me! The other thing to note with the soup, feel free to use what ever veges you have on hand. Soup is a great way to hide your not so fresh but still edible veges 


I really feel like its the use of spice and fresh rosemary in this soup that gives it that extra depth of flavour but if these aren't things you have in your pantry feel free to replace with all spice or dried mixed herbs
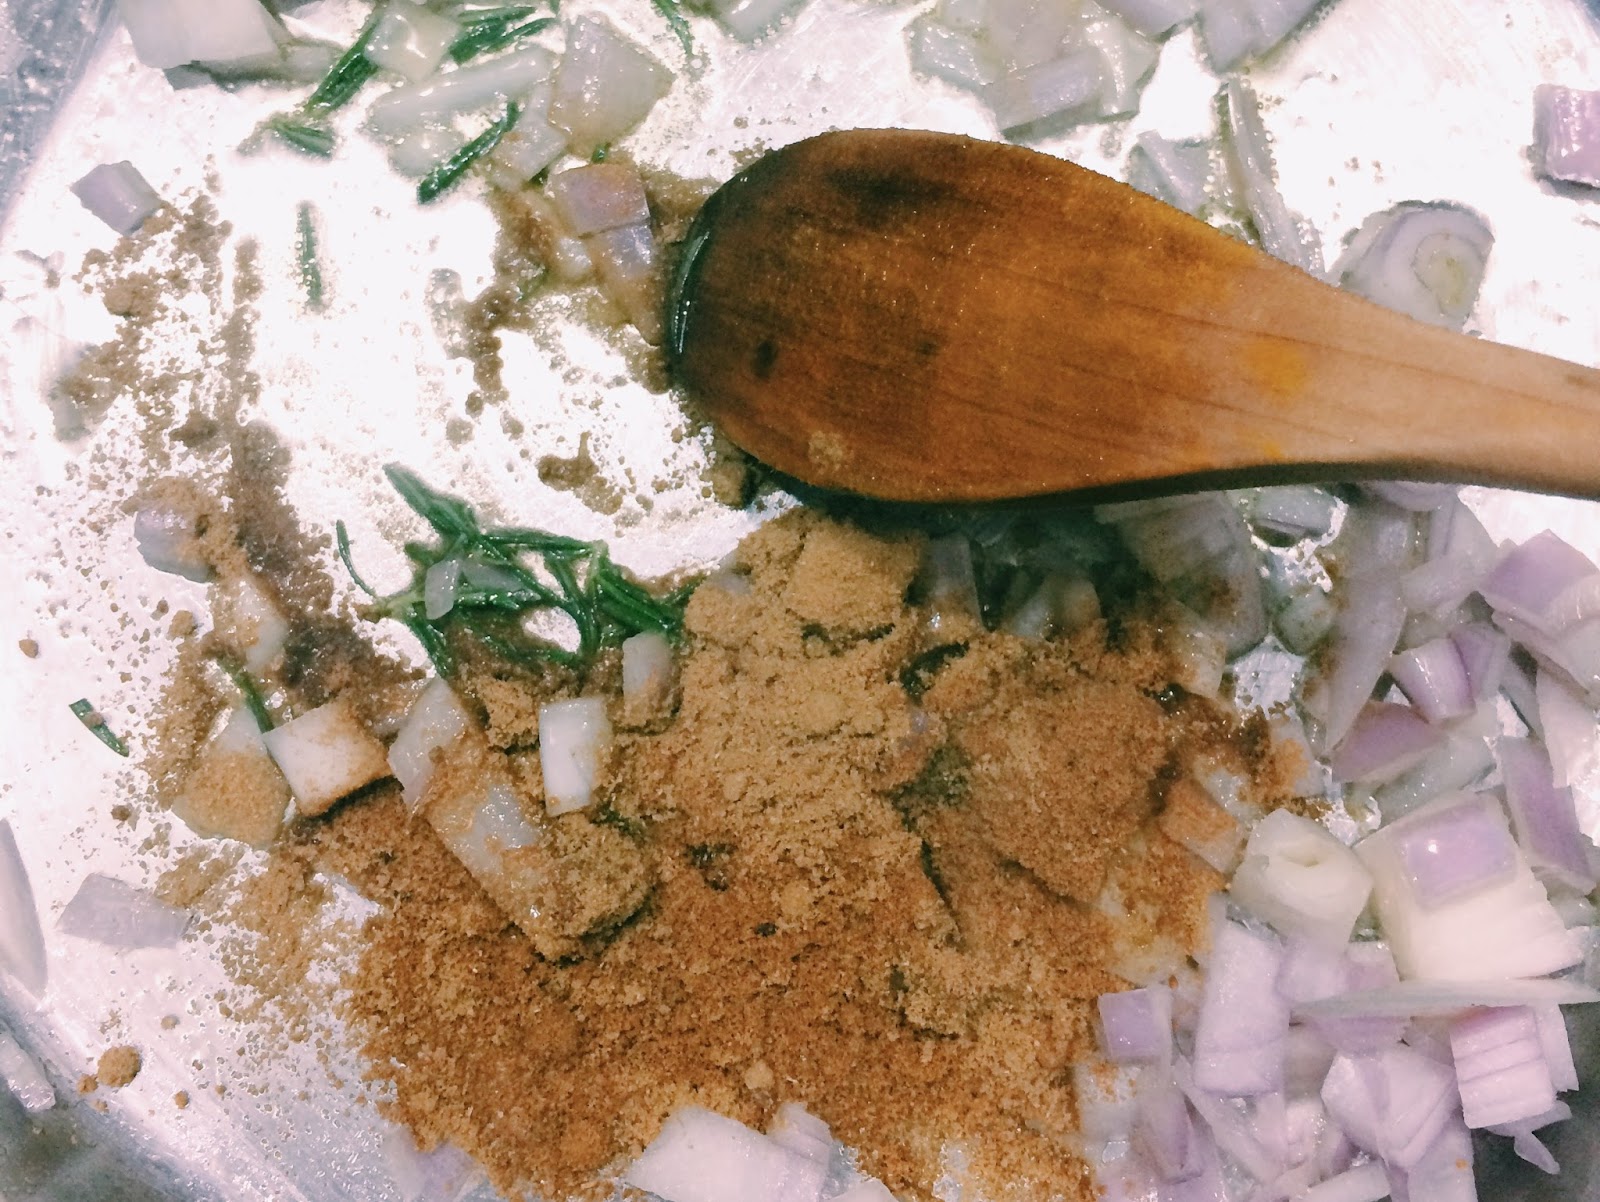


Now for the best part of this recipe. Definitely helps achieve your five plus a day goals, it's cheap to make AND Shyra-Beth my chicken nuggy obsessed toddler ate two whole bowls of it including all the veges. Winner Winner Bacon Hock Dinner. About $8 in total for this meal which gave all three of us dinner and lunch the next day


Chunky Vege & Bacon Hock Soup

1 Bacon hock
2 litres of vege scrap stock
1 litre of water
2 cups of diced seasonal veges of your choice (I used squash, carrot, celery) 
Olive Oil
1 T Rosemary
1 shallot diced
2 cloves of garlic
1t cumin
1t coriander
1 can of diced tomatoes

Optional
1/2 cup of red lentils
1 cup of small pasta (By small i mean elbows or macaroni, I used these novelty bear shaped ones) 

1. Cook the Bacon Hock in the vege scrap stock. Either simmering on a stove top for 1.5 hours or on high in the slow cooker for about 4-5 hours, until the flesh is easy to pull off 

2. Remove the bacon hock from the stock and strip off the meat. Set the meat aside for later

3. In a large stock pot heat olive oil on a medium heat and add shallot, garlic, rosemary and your veges (I didn't add my squash at this point because I didn't want it to go mushy) 

4. Sweat the veges down until softened

5. Add the cumin and coriander powder and let it saute for a further few minutes

6. Transfer the stock from the slow cooker to the pot and add in 1 litre of water 

7. Bring to the boil (I added in my squash at this point)

8. Add in the can of diced tomatoes, lentils and pasta and lower the heat to a gentle simmer until the pasta is cooked through and lentils have broken down

9. Season and serve with chunks of bacon on the top

Thursday, 18 May 2017

Spiced Feijoa Crumble Loaf

Today has been one of those days. A day where I want to give a standing ovation to every single person who works in childcare and loves working in childcare. 

Thursdays are the only day Shyra-Beth doesn't go to kindy. Usually this OCD organised mummy, ALWAYS has some sort of activity planned. Today the plan was to go the the animal nursery at the Agrodome. Seriously if you are ever in Rotorua you have to check the Agrodome out, especially if you have little animal lovers! 

However last night Master Paul decided to wake up at 2am which in turn woke Shyra-Beth up. Me being the amazing wife who didn't want to wake up my hard working husband, I tried to handle the situation by myself. MISTAKE. Basically to cut a long story short I ended up in bed with both babies and Josiah ended up sleeping in Shyra-Beth's room. This morning when we woke up I opened the drapes to find a bitterly cold, wet, windy day and I knew it was not worth trying to get two grumpy kids out of the house which was MISTAKE #2

I kid you not, we did every rainy day activity imaginable. We built forts, baked, watched movies, painted, coloured and rearranged all the living room furniture so that we could dance every time there was a song on Frozen. By the way, I'm doing all of this while constantly feeding a very grizzly, teething five month old! So right now I'm lying in bed, exhausted but so grateful for Shyra-Beth's amazing kindy, and my ultra cozy European cushions. 


Josiah's parents have a couple of feijoa trees and this year they got an amazing crop so we have tonnes of them! If you aren't from New Zealand you are probably wondering what the Fee- what-a is a Feijoa. Think of it as a guava cross with a passionfruit. I guess that is the best way I would describe it? I'm addicted, I was especially addicted while I was pregnant! I remember smashing through an entire bucket in like two days. It's just something about the sweet sour grittiness that is just oh so addictive! As you can see below, Shyra is a huge fan too! 


Having tonnes on the verge of being over ripe I thought I had better bake with them. I did a cake earlier this week but wasn't happy with it because I didn't put it in a big enough cake tin so most of it overflowed, the crumble was average and I could still really taste the baking soda in it. 

This recipe isn't for an overly sweet cake and is more of a tea cake as opposed to a dessert but it was still a winner in our house! Also I chose to do it in a loaf tin because it is so loaded with feijoa it is quite crumbly, so the loaf tin makes it easier to cut. Enjoy! 

Also make sure not to chuck out your feijoa skins, if it works I'll be sharing what I did with mine! Ooooooh the suspense


Spiced Feijoa Crumble Loaf

Cake

3/4 cup mashed feijoa
1 cup of sugar
125g melted butter
1 egg
1 1/2 cups flour
1 tsp ground ginger
1 tsp all spice
2 tsp cinnamon
1/2 tsp ground nutmeg
1 tsp baking soda

Crumble Topping

25g butter chopped
2T Flour
1/4 cup brown sugar
1/4 cup rolled oats
1/4 cup shredded coconut (Desiccated is fine but I prefer the texture of shredded) 

1. In a bowl whisk together melted butter, egg and sugar 
2. In another bowl sift all your dry ingredients 
3. Mix wet ingredients into the dry ingredients being careful not to over mix
4. Gently fold through mashed feijoa till well combined

5. Add butter, flour and brown sugar to a bowl and rub with your fingers until you get the consistency of bread crumbs
6. Add rolled oats and shredded coconut 

7. Pour the cake batter into a lined loaf tin and top with the crumble topping
8. Bake for  40-45 mins in a pre-heated oven 170 degrees Celsius or until the skewer comes out clean*

* Make sure to not put your tray too near to the top of the oven or your crumble might get a bit burnt 


Monday, 15 May 2017

Giving Babe the Best

Breast feeding is such a contentious issue. I mean there's #breastisbest #fedisbest #dontjudgejustfeed #sorenips #mybreastpumpsucks 

Ok but actually, this whole idea around feeding a baby has just gone crazy! Today I received my Haaka pump, I was literally so excited I almost greeted the courier with my boobs not quite in my bra yet....almost

So like all mum bloggers I thought I had better share my "breast feeding journey." Gosh, I really do hate that term. So to start with let's get one thing clear- I do not enjoy breast feeding. Like at all. I've read all these blogs about feeling like a life giving goddess, that amazing bond and all that, and yeah I totally get that life giving nutrients are literally flowing from you. But when I think of breast feeding all I think about is that time we took the kids to the Rotorua A & P Show and we walked into the milking shed. Hours on end, my full time job is to sit on my bottom and feed this beautiful precious child. That is my main function in life, as a breast feeding mum, just like a dairy cow. 

Let's get one thing straight, breast feeding was not difficult at all with Shyra-Beth. I was incredibly confused at the start because each different midwife I had at the hospital told me something different, but once my midwife who was also a lactation consultant came in and gave me direct step by step instructions we were off and away. I fed Shyra-Beth right up till a few weeks after her first birthday and then she discovered Anchor Silver Top and fell head over heels in love. In fact I remember the last time I breastfed. Josiah was at his soccer final and I was sitting on the couch watching Grey's Anatomy. It hit me, this is probably the last time I am going to breastfeed this child. There I sat waiting for it, sadness? remorse?... nada! Like actually if anything, if I'm being perfectly honest there might have been a hint a relief.

Does that make me a horrible person? I've had friends who have had the works! Sore, cracked nips, intense pain. Here I was having no breast feeding consequences other than dire boredom and raging hormones (not in a good way at all) and I really disliked doing it. Am I allowed to say that? In a culture where breast is best is so glorified, am I able to express my feelings around this issue?

Jeremy has been a whole different story. From day one I noticed his latch was different but as he was piling on the weight in start, it didn't really worry me. It wasn't until after we were discharged by the midwife that he started dropping percentiles. By 3 months, he was feeding all the time, but had dropped two weight percentiles and gone up 2 height percentiles. Shyra-Beth did the same thing around the same age so we weren't too worried, until I started connecting dots. My nips were always sore, I wasn't hormonal, I had never needed a breast pad even when we started doing long stretches at night and when i pumped for a friend I got next to nothing. My mum-tuition started kicking in so I took him to the doctors. Two doctors and a nurse who was a former midwife looked at him and said nothing was wrong. But mummy always knows best. One appointment with the lactation consultant and less than a week later Jeremy was getting his Grade 2, lip and tongue tie lasered! Yay for our first pain free feed! Featured below


Two months later, this boy is feeding heaps better, my supply is up but he is still not putting on enough weight! He does long stretches at night but feeds quite a bit during the day. We have just started solids and plunket has recommended I start expressing as well. 

Ahhh expressing the joy of my life. Actually no, I dislike it more than breastfeeding. The buzz of the pump, the looking at cute baby videos to stimulate oxytocin, the fact that you literally just have to sit there and do nothing apart from maybe watch TV or read a book. The only time of day I can sit and do nothing is when both my babies are asleep and during those moments the last thing I want to do is sit there and feel like a glorified milking cow! This is where the Haaka Pump comes in! 

You attach it and that is it, completely hands free! This morning I had it attached while I helped Shyra-Beth with breakfast and TA DA, 50ml of milk. 50ml of milk would normally take me 20-30 minutes of sitting down and expressing with my electric pump. My most intense let down is first thing in the morning after JJ sleeps 9pm-7am (Yes I know, he is amazing) So I have my wee Haaka pump chilling on my bedside table waiting to be attached first thing tomorrow morning! 


So I fully don't know if anyone actually reads these, or I'm just ranting away to myself. But if you are...There's such a mum-culture about giving baby the absolute best everything. For goodness sake we have a $800 pram! That's more expensive that most first cars! I guess the moral of my story is give baby the best that you can. That may be breast milk or it may be formula. You give baby what is best for baby, even if it comes as a sacrifice to you. But don't mistake the fine line between sacrifice and suffering. You can't give baby your best if you are suffering, and if breast feeding is causing you to suffer, it's not worth it. If like me, breast feeding is just annoying, do it, make the sacrifice, your babe will thank you for it! 

That's my 2 cents for today! But seriously if you are a breast feeding mumma Haaka have their original pumps on special for only $20! It really is a must have! 


Thursday, 11 May 2017

Chicken and Ginger Bone Broth

Having lived in Singapore till I was 10, I didn't grow up drinking these beautiful creamy chunky soups that are very popular in the Western world. I grew up drinking broth wayyy before bone broth was trending! Chicken and corn, Pork Bone Ba Ku Teh and the broth that comes with Hainanese Chicken rice. There is something about a good broth that warms your being from the inside out. Ginger is one of those super foods which I love. It's anti-nausea, anti-inflammatory and fights infections. This broth was definitely consumed during my pregnancy (everything made me want to barf) and of course in winter when the toddler comes home with every bug possible from kindy. 

I serve this broth on its own, with rice porridge if someone in the family has fallen prey to a tummy bug, use it as a base for my broccoli and potato soup (halving the amount of ginger) or serve it with my favourite pork and mushroom wontons. 


I'll share my favourite wonton recipe and my garlic bak choy recipe with you all some other time. 


But for today, here's the broth!


  • 500g chicken bones (frames, backs or necks are pretty good) I normally buy about $4 worth per broth at my local butcher
  • 1 onion halved
  • 3 stalks of celery chopped roughly
  • 2 carrots chopped roughly
  • 2 (lady) thumb sizes of ginger, 1x bruised, 1x grated finely
  • 10 cloves of garlic whole
  • 1 t of sesame oil
  • Spring onion chopped roughly
  • 1 T of whole black pepper corns 
  • 1 star anise
  • white pepper
  • salt


A big stock pot would be handy, I'm itching for a 12l one but for now 5l one has to suffice


  1. Boil a jug a water
  2. Heat your sesame oil on a medium heat and sautee celery and onion till semi-soft
  3. Add in Chicken bones, onion, bruised ginger, garlic cloves, spring onion, pepper corns and star anise to the pot
  4. Pour boiled water over everything until the chicken bones are just submerged
  5. Bring to the boil* 
  6. Remove scum from the top with a slotted spoon
  7. Reduce heat and simmer for about half an hour, removing additional scum that might surface as required 
  8. Once the veges start going soft, remove the stock from the heat.
  9. Pull out the chicken bones first and set aside
  10. Strain the rest of the stock. You can use a strainer and/or cheese cloth
  11. Return the stock to the heat and add in finely grated ginger, white pepper and salt**
  12. Bring stock to the boil and let it reduce to about 2/3s of the original amount. So if you started with 3l of stock you want to reduce it down to 2l. Be sure not to over reduce the broth as you will be left with seawater. The key is to keep tasting it
  13. For a quick meal, pull off some of the chicken meat from the bones and chuck in dried noodles and some bok choy to cook in the broth. 

*This step is really important as it brings all the scum or froth to the top, once you remove this you get a much clearer broth 

**Don't add in too much as you are going to reduce this down, start minimally and add as you go 


Thursday, 4 May 2017

Pea and Lentil Soup- 4 litres for $4

Soup season is upon us! And it has come with a vengeance. Last winter was my first winter here in Rotorua and I barely survived, that was with my internal pregnancy heater! Seriously though Auckland might as well be Bali, compared to the winters we get down here... yes I am aware it is not yet winter. 

This soup, almost seems to good to be true. It is silky, luscious, hearty and so, so so good. But it literally costs less than $4 to make! Nothing out of a packet, no pre-made sachets. All from scratch. The secret? Vege Scrap Stock! 

Two things I love, is a good homemade stock and zero waste! I saw a facebook video someone shared a while back on vege scrap stock, and just had to give it a go. Disclaimer with this recipe, because what you are putting in your scrap bag is inconsistent, it obviously will not always taste the same. This batch of stock was quite sweet because I had just done a whole lot of stewed apples, just bare that in mind, that you will not have the same consistency you would get with store bought stock. 


Vege Scrap Stock

So I started a large glad snaplock bag and every time I cut veges, I would pull it out and all my scraps to it. Things like onion skins, apple cores, rosemary branches. If it's biodegradable, it went in the bag. When the bag was full: 

1. I separated the scraps into two pots
2. Filled with water and brought to the boil on a high heat
3. Reduced heat to a low-medium and let it simmer uncovered for 30 mins. 
4. Let is cool
5. Strain and fill your ice- cream containers
6. Freeze! (Will keep for months in your deep freeze) 

Yesterday was one of those day, where the only thing that went right was my soup. JJ is cutting his first tooth, poor bugs cheeks are so red, being the sooky he is, he literally needed to be carried all day. Shyra-Beth was in full blown terrific two mood, which included a 45 min rampage through the house. I literally needed to make something I could just chuck on stove and kinda look at it ever 15 mins or so. 


This is cheap, lazy, peasant food at it's finest- Pea and Lentil soup. The sweetest from the peas, nuttiness from the lentils, heartiness from the potatoes, all accentuated by the humble salt and pepper is the perfect "come home from work to" meal. You can totally make this in your slow cooker too! 


Pea & Lentil Soup

4 litres of vege scrap stock
Approx 350g of frozen peas (I used a third of a 1kg bag) 
4 medium sized potatoes chopped roughly 
1/2 cup yellow lentils
2T lemon juice (just bottled) 
Salt and Pepper 
Parsley

1. If you have time to defrost your stock, do so otherwise just put in a big pot on a low heat and let it melt.
2. Once the stock has melted, add your lentils and potatoes and simmer on a medium heat
3. Once the lentils are just starting to break down and your potatoes soft enough for a fork to run through add your frozen peas till those are cooked. 
4. Blitz with a stick blender 
5. This is where it depends on what your stock tastes like. I felt it needed some acid so I added Lemon juice and salt & pepper and some chopped parsley for freshness! 
6. Served with some of our absolute favourite, Ploughmans Pumpkin Toast! 


Being a breast feeding mumma, with a teething baby, I did need some protein. So I stirred through some left over pasta mince we had from the night before and it was so good. So this soup does make a good base if you want to add other things to it like ham, corn or chunky veges. But it is just fine on its own! 


Sunday, 30 April 2017

Gourmet Chorizo Sausage and Ground Beef Sliders

Watching Masterchef Junior has definitely got to be one of my happy places. I mean not only is Gordon Ramsay absolutely darling in it, the kids are just adorable. The are so incredibly talented and most of them are so sweet, kind and supportive of each other, there's none of that vindictive, cocky, spitefulness which I suppose gets amazing ratings with most other reality TV shows. It just gives me the warm fuzzies. On the episode I watched they were making burgers and the next thing I knew I am day dreaming about succulent, juicy, flavour so full it smacks you in the face burgers!

Sunday lunch is a complicated thing in our household. Because we only really get back at 1:30pm from church everyone is starving so whatever we eat really needs to be pre-prepared. 

Countdown do some amazing gourmet sausages in the butchery section. They have variants like Italian Pork, Chorizo, Beef and cheese and they go on special quite often. This week I believe they are on special for $4.50 for a pack of 6 which is such a bargain! I remember seeing this ages ago I think on Jamie Oliver 15 min meals where he removed sausages from their skin to make meatballs, and I thought it was genius! I really wanted to go with some latino flavours and have patties that packed a punch. 

I premade the patties the night before, shaped them and wrapped them in gladwrap so when I got home all I had to do was chuck them in the fry pan to sear off and into the oven to finish cooking. I served my patties on cheese slider rolls with onion jam and a thin slice of cheese with a coriander pesto dressed slaw on the side! It was pretty magical I'm not going to lie. This recipe does pack a bit of heat, so if your little ones aren't into spicy I would just not add the chili. 

Chorizo and Ground Beef Patties

500g mince beef
6 Gourmet Chorizo Sausages skins removed 
1 Chili 
1 egg
1 onion
3 cloves of garlic
1 T of brown sugar
1 capsicum
2 T of cumin
1 T smoked paprika
Salt and pepper 

1. Place your mince and sausage in a bowl 
2. In a food processor blitz chili, egg, onion, garlic, brown sugar and capsicum (really you can hand chop these but I mean why?) 
3. Add this to the meat mix with your cumin, smoked paprika and salt and pepper
4. Form into patties. I got 12 slider sized patties which were about the size of my palm 
5. Sear off in a pan to seal it so the juices don't come out
6. Put in a pre-heated oven at 180 degrees Celsius for 12-15 mins till the juices run clear! 
7. Serve however you like with whatever you like! 


Wednesday, 26 April 2017

Coconut Panna Cotta with Charred Mango

We just had such an amazing weekend with our friends The Reynolds. We have this on-going tradition where whenever we have a meal together, I always make something bizarre. Once it was Vietnamese Coffee Jelly or as Dan called it Jello-fee, another time it was my tofu cheesecake, which was awesome FYI! But anyway this time I decided to stick to a known favourite and not make them my food guinea pigs! 

Like I mentioned in my Rice Cooker Cheesecake post, I love having go-to no-fail desserts I can just whip up and this recipe is definitely one of them. I literally make it so often, I don't even refer to a recipe anymore, so I can't actually remember where I got it from, I think it may be a countdown one? Anyway lovely husband who is not a big dessert fan, is not a fan of this one normally, funny because he always seems to eat it anyway? But with the addition of Charred Mango, I think I might just have a convert! 

Being a coconut panna cotta there's various things you can serve it with. I've done lychees, palm sugar toffee sauce and toasted coconut, lime and mint. Feel free to use whatever you have on hand or is seasonal! 

You totally have to excuse my unmolding skills in the photo as my friends were making me laugh and JJ was screaming for me to feed him so I had to rush them out of their ramekins, normally they come out pretty perfectly! 


Coconut Panna Cotta with Charred Mango

400ml can of coconut cream
250ml Cream
1/2 cup of white sugar
2 teaspoons of gelatin powder dissolved in 2T of hot water

2x Ripe Mangoes Diced
25g Butter
2T Brown sugar


1. Add Coconut cream, Cream and sugar to a pot and bring to the boil stirring, to dissolve the sugar
2. Dissolve gelatin in hot water
3. Once Cream mixture has come to the boil, add gelatin whisking continuously
4. Pour into ramekins (I normally get about 6 very full ones or 8 which are 2/3s filled) 
5. Place in fridge till set 
6. To remove from the ramekins, sit on the benchtop for about 10 mins and then slowly run a very flexible small rubber spatula around the edge

1. Dice Mangoes
2. Melt butter and sugar in a hot saucepan
3. Once this mixture is frothing add your mango and keep the heat on high so that the sauce reduces around the mango. 
4. I like to keep the mango in the pan till it is just started to blacken