Showing posts with label Furious Foodie. Show all posts

Monday, 26 June 2017

Gluten Free and Dairy Free Peanut Butter Chocolate Chip Cookies

Guys! I'm so sorry I've been a bit slack on the blog front. A mix of settling into a new kindy routine and Jeremy teething has just got me wiped out. Anyway my insta-story game has been pretty good though, so if you want to keep up with our adventures, make sure you follow me on insta! 

I made these on my insta story yesterday and got such a good response I thought I should share the recipe here! I kind of freak out when it comes to gluten free and dairy free baking as I'm just not very experienced working with these substitutes and I often find the ingredients necessary like almond meal and gluten free flour can get a bit pricey. I loveeee these cookies because they are gluten free and dairy free, they are melt in your mouth delicious, they use ingredients most kiwis have in their cupboards and they literally take 2 minutes to whip up. 

This particular batch i have adapted to be breast milk boosting by adding some flaxseed and brewers yeast. If you are a breast feeding mum, soak 2t flaxseed in 2T warm water for like 5 mins and add that with 3T brewers yeast to the mixture at the end! 


Also one more thing to note is that these are just so incredibly soft and crumbly when they come out of the oven so make sure you are super careful when shifting them from the baking tray to the cooling rack 


These aren't on the weight watchers list as they are quite sugary, so I will be experimenting with a refined sugar free version soon but for now, just indulge xx

Peanut Butter Chocolate Chip Cookies (DF,GF) 

1 cup smooth peanut butter
1 cup white sugar
1 egg
1/3 cup dark chocolate chips

1. Pre-heat the oven to 180 degrees celcius
2. Soften peanut butter in the microwave for 30 seconds
3. Add sugar, egg and chocolate chips to the softened peanut butter and mix till combined
4. Portion out cookies using an ice-cream scoop
5. Bake for 15 mins
6. Transfer to a cooling rack very carefully so that the cookies harden

Wednesday, 24 May 2017

Chunky Vege and Bacon Hock Soup

So I was really tempted to name this post "The Vege Scraps Strike Again," but then I didn't. Ok so it is cold, like we just bought 10 boxes of thermals from Kathmandu cold. Seriously Rotorua makes Auckland feel like Bali, and it isn't even actually winter yet. 

With winter, comes soup season. Seriously though, there's nothing more inviting than coming home on a cold, wet, windy day and digging into a chunky, warm soup with some crusty bread. With soup recipes, a lot of them call for stock. This might just be me, but I personally feel like if you are going to make a soup with powdered stock, why don't you just have a continental cup a soup? Soup to me should be full bodied, nourishing and wholesome, but who on earth has time to make stock and then make soup? 


This is where the vege scrap stock strikes again... seriously I'm just a bit too obsessed with that phrase at the moment. Because you can make this stock when you get a spare minute and freeze it for months, it is literally at your disposal any time you need AND it literally costs nothing to make because as the name suggests, you make the stock from scraps. Check out my pea and lentil soup recipe for the vege scrap stock instructions. 


Jeremy has just started solids, so I've been making tonnes of baby food, so the idea of a thick pureed soup, didn't seem to appetizing for me. In my head I was almost thinking a minestrone type soup with chunks of bacon on the top. The slow cooker is also my favourite "baby is teething" kitchen appliance. 

Really, this soup could totally be made in the slow cooker if you didn't mind the vegetables completely broken down. All you would need to do is saute your veges, shallots, garlic and spices before they went in the slow cooker.

As you can see below, I didn't even bother defrosting my stock, I just let the slow cooker do the work for me! The other thing to note with the soup, feel free to use what ever veges you have on hand. Soup is a great way to hide your not so fresh but still edible veges 


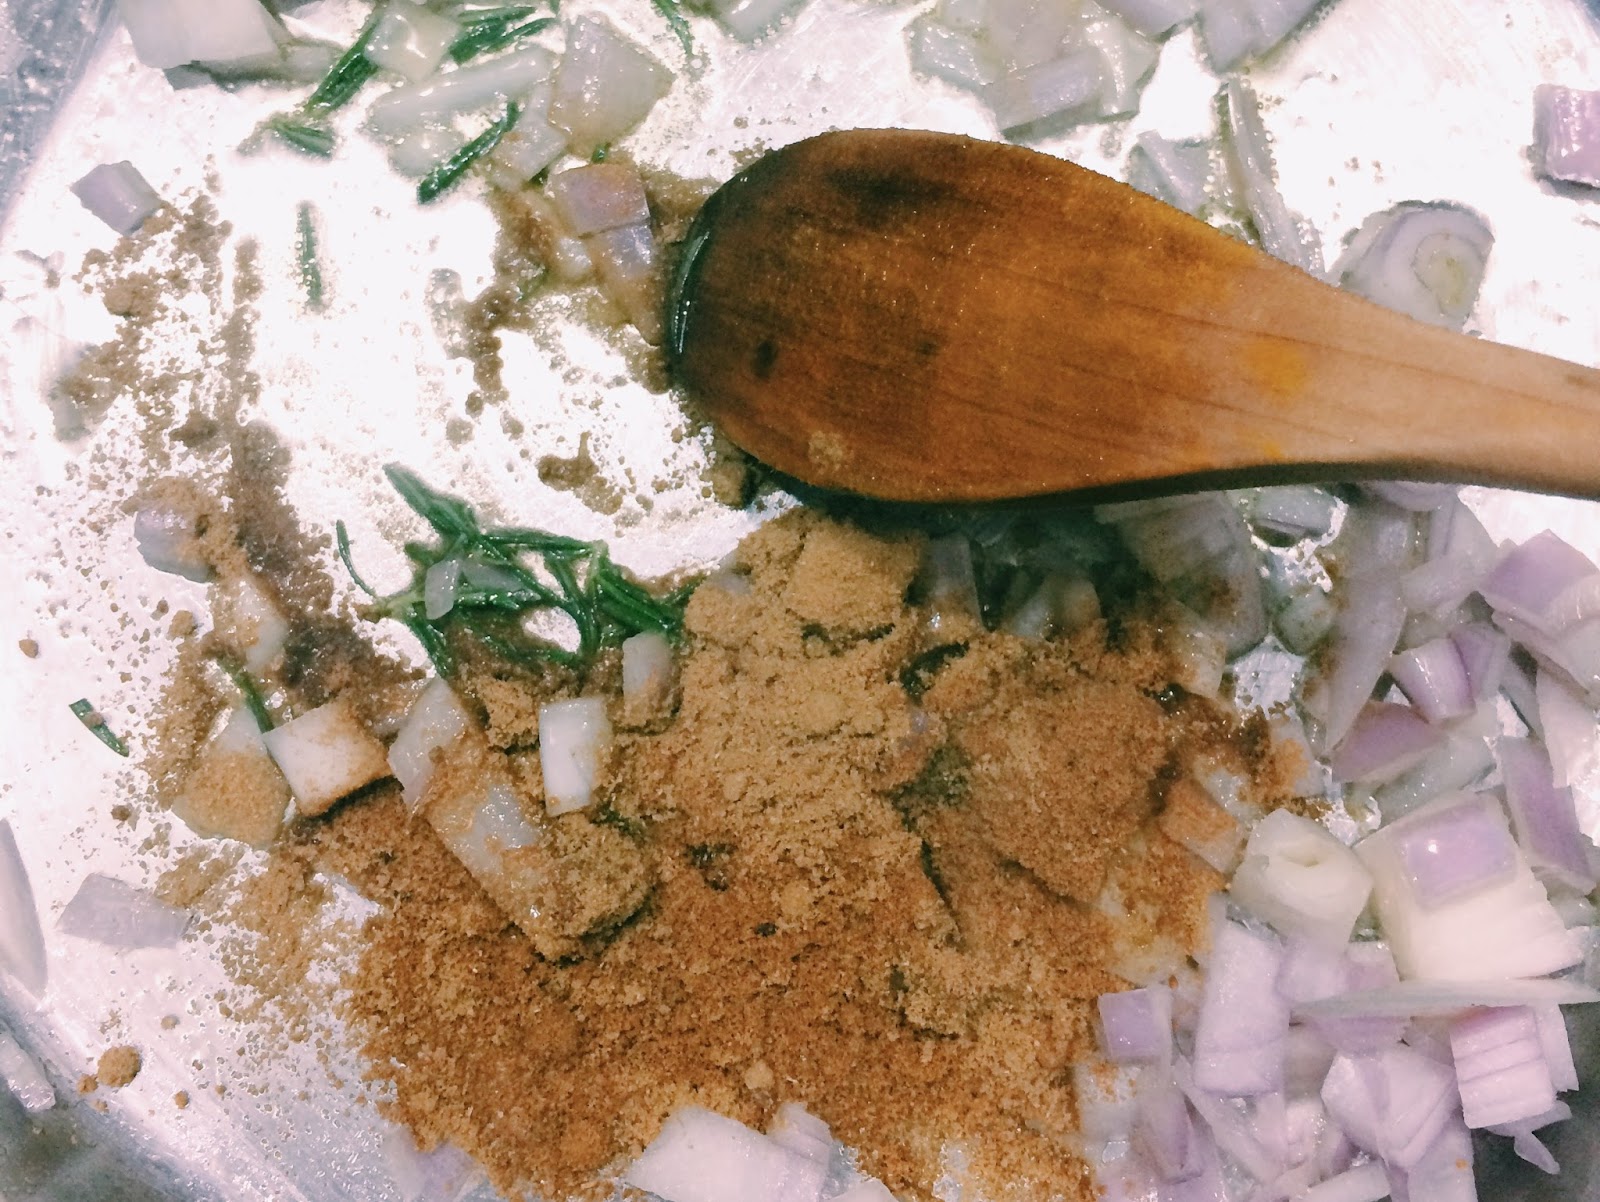
I really feel like its the use of spice and fresh rosemary in this soup that gives it that extra depth of flavour but if these aren't things you have in your pantry feel free to replace with all spice or dried mixed herbs


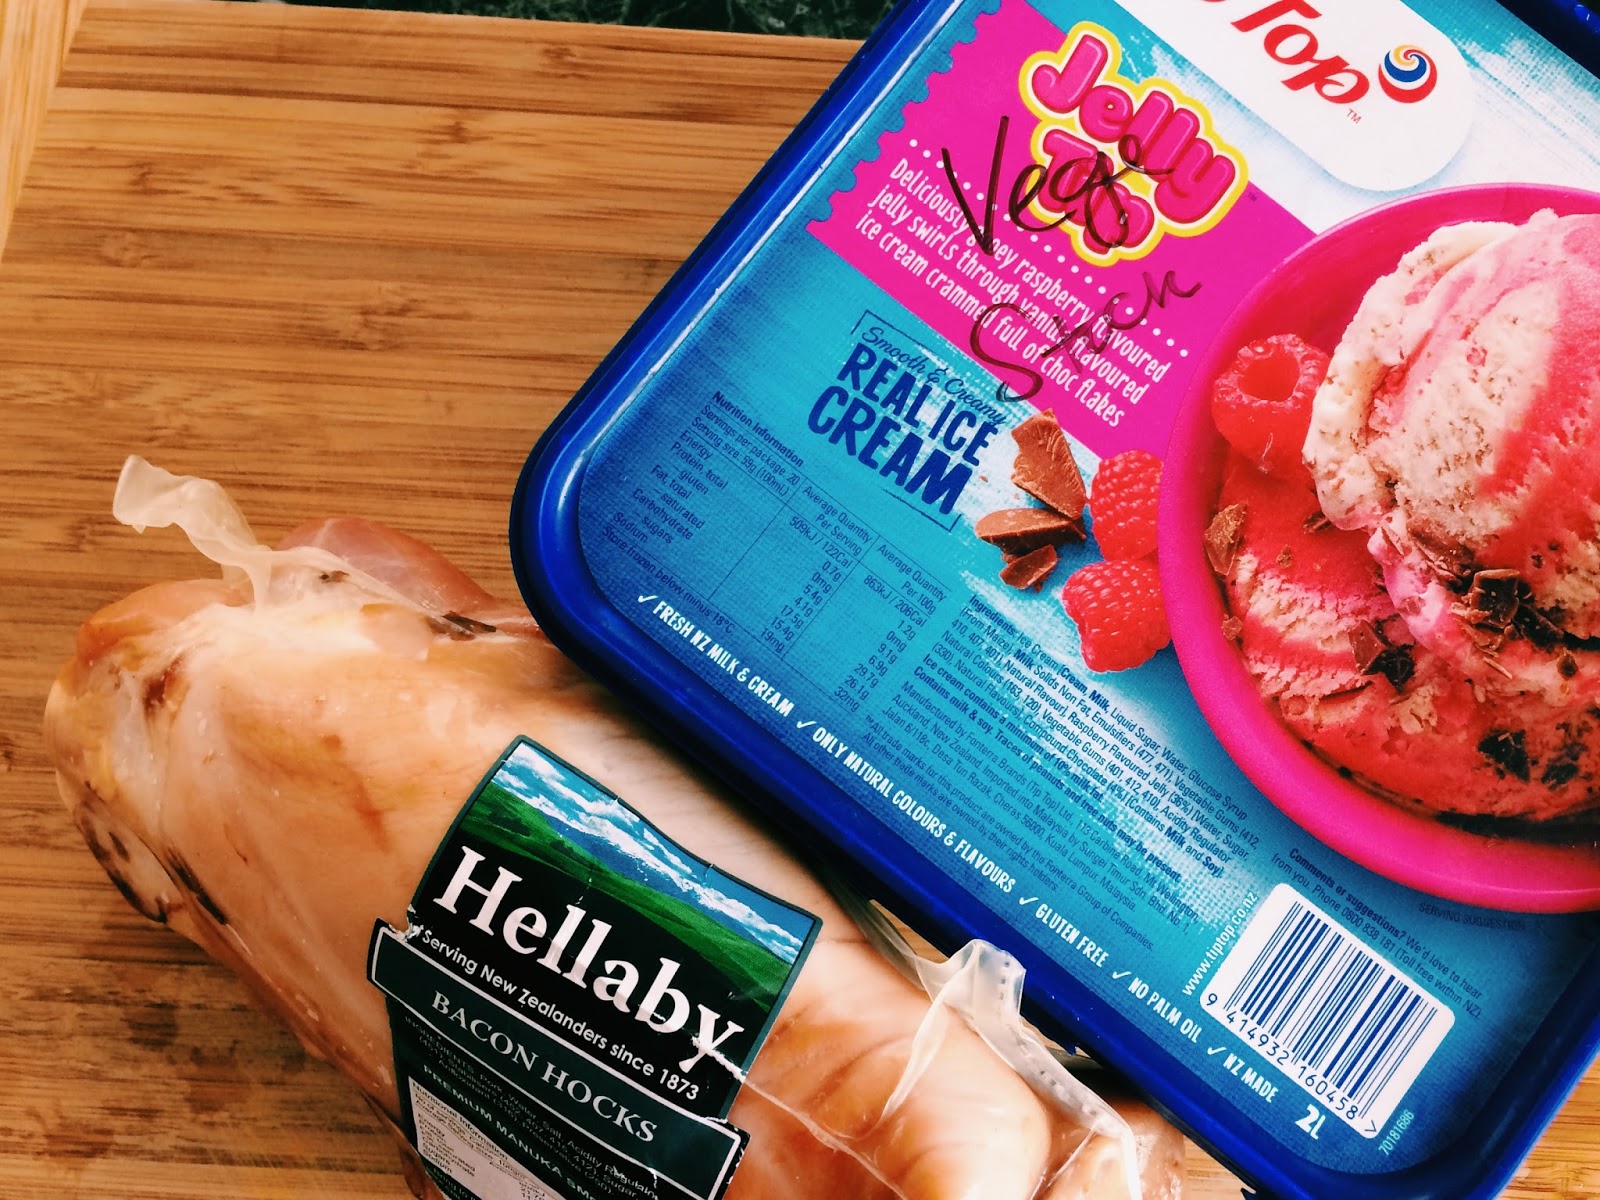
Now for the best part of this recipe. Definitely helps achieve your five plus a day goals, it's cheap to make AND Shyra-Beth my chicken nuggy obsessed toddler ate two whole bowls of it including all the veges. Winner Winner Bacon Hock Dinner. About $8 in total for this meal which gave all three of us dinner and lunch the next day


Chunky Vege & Bacon Hock Soup

1 Bacon hock
2 litres of vege scrap stock
1 litre of water
2 cups of diced seasonal veges of your choice (I used squash, carrot, celery) 
Olive Oil
1 T Rosemary
1 shallot diced
2 cloves of garlic
1t cumin
1t coriander
1 can of diced tomatoes

Optional
1/2 cup of red lentils
1 cup of small pasta (By small i mean elbows or macaroni, I used these novelty bear shaped ones) 

1. Cook the Bacon Hock in the vege scrap stock. Either simmering on a stove top for 1.5 hours or on high in the slow cooker for about 4-5 hours, until the flesh is easy to pull off 

2. Remove the bacon hock from the stock and strip off the meat. Set the meat aside for later

3. In a large stock pot heat olive oil on a medium heat and add shallot, garlic, rosemary and your veges (I didn't add my squash at this point because I didn't want it to go mushy) 

4. Sweat the veges down until softened

5. Add the cumin and coriander powder and let it saute for a further few minutes

6. Transfer the stock from the slow cooker to the pot and add in 1 litre of water 

7. Bring to the boil (I added in my squash at this point)

8. Add in the can of diced tomatoes, lentils and pasta and lower the heat to a gentle simmer until the pasta is cooked through and lentils have broken down

9. Season and serve with chunks of bacon on the top

Thursday, 18 May 2017

Spiced Feijoa Crumble Loaf

Today has been one of those days. A day where I want to give a standing ovation to every single person who works in childcare and loves working in childcare. 

Thursdays are the only day Shyra-Beth doesn't go to kindy. Usually this OCD organised mummy, ALWAYS has some sort of activity planned. Today the plan was to go the the animal nursery at the Agrodome. Seriously if you are ever in Rotorua you have to check the Agrodome out, especially if you have little animal lovers! 

However last night Master Paul decided to wake up at 2am which in turn woke Shyra-Beth up. Me being the amazing wife who didn't want to wake up my hard working husband, I tried to handle the situation by myself. MISTAKE. Basically to cut a long story short I ended up in bed with both babies and Josiah ended up sleeping in Shyra-Beth's room. This morning when we woke up I opened the drapes to find a bitterly cold, wet, windy day and I knew it was not worth trying to get two grumpy kids out of the house which was MISTAKE #2

I kid you not, we did every rainy day activity imaginable. We built forts, baked, watched movies, painted, coloured and rearranged all the living room furniture so that we could dance every time there was a song on Frozen. By the way, I'm doing all of this while constantly feeding a very grizzly, teething five month old! So right now I'm lying in bed, exhausted but so grateful for Shyra-Beth's amazing kindy, and my ultra cozy European cushions. 


Josiah's parents have a couple of feijoa trees and this year they got an amazing crop so we have tonnes of them! If you aren't from New Zealand you are probably wondering what the Fee- what-a is a Feijoa. Think of it as a guava cross with a passionfruit. I guess that is the best way I would describe it? I'm addicted, I was especially addicted while I was pregnant! I remember smashing through an entire bucket in like two days. It's just something about the sweet sour grittiness that is just oh so addictive! As you can see below, Shyra is a huge fan too! 


Having tonnes on the verge of being over ripe I thought I had better bake with them. I did a cake earlier this week but wasn't happy with it because I didn't put it in a big enough cake tin so most of it overflowed, the crumble was average and I could still really taste the baking soda in it. 

This recipe isn't for an overly sweet cake and is more of a tea cake as opposed to a dessert but it was still a winner in our house! Also I chose to do it in a loaf tin because it is so loaded with feijoa it is quite crumbly, so the loaf tin makes it easier to cut. Enjoy! 

Also make sure not to chuck out your feijoa skins, if it works I'll be sharing what I did with mine! Ooooooh the suspense


Spiced Feijoa Crumble Loaf

Cake

3/4 cup mashed feijoa
1 cup of sugar
125g melted butter
1 egg
1 1/2 cups flour
1 tsp ground ginger
1 tsp all spice
2 tsp cinnamon
1/2 tsp ground nutmeg
1 tsp baking soda

Crumble Topping

25g butter chopped
2T Flour
1/4 cup brown sugar
1/4 cup rolled oats
1/4 cup shredded coconut (Desiccated is fine but I prefer the texture of shredded) 

1. In a bowl whisk together melted butter, egg and sugar 
2. In another bowl sift all your dry ingredients 
3. Mix wet ingredients into the dry ingredients being careful not to over mix
4. Gently fold through mashed feijoa till well combined

5. Add butter, flour and brown sugar to a bowl and rub with your fingers until you get the consistency of bread crumbs
6. Add rolled oats and shredded coconut 

7. Pour the cake batter into a lined loaf tin and top with the crumble topping
8. Bake for  40-45 mins in a pre-heated oven 170 degrees Celsius or until the skewer comes out clean*

* Make sure to not put your tray too near to the top of the oven or your crumble might get a bit burnt 


Thursday, 11 May 2017

Chicken and Ginger Bone Broth

Having lived in Singapore till I was 10, I didn't grow up drinking these beautiful creamy chunky soups that are very popular in the Western world. I grew up drinking broth wayyy before bone broth was trending! Chicken and corn, Pork Bone Ba Ku Teh and the broth that comes with Hainanese Chicken rice. There is something about a good broth that warms your being from the inside out. Ginger is one of those super foods which I love. It's anti-nausea, anti-inflammatory and fights infections. This broth was definitely consumed during my pregnancy (everything made me want to barf) and of course in winter when the toddler comes home with every bug possible from kindy. 

I serve this broth on its own, with rice porridge if someone in the family has fallen prey to a tummy bug, use it as a base for my broccoli and potato soup (halving the amount of ginger) or serve it with my favourite pork and mushroom wontons. 


I'll share my favourite wonton recipe and my garlic bak choy recipe with you all some other time. 


But for today, here's the broth!


  • 500g chicken bones (frames, backs or necks are pretty good) I normally buy about $4 worth per broth at my local butcher
  • 1 onion halved
  • 3 stalks of celery chopped roughly
  • 2 carrots chopped roughly
  • 2 (lady) thumb sizes of ginger, 1x bruised, 1x grated finely
  • 10 cloves of garlic whole
  • 1 t of sesame oil
  • Spring onion chopped roughly
  • 1 T of whole black pepper corns 
  • 1 star anise
  • white pepper
  • salt


A big stock pot would be handy, I'm itching for a 12l one but for now 5l one has to suffice


  1. Boil a jug a water
  2. Heat your sesame oil on a medium heat and sautee celery and onion till semi-soft
  3. Add in Chicken bones, onion, bruised ginger, garlic cloves, spring onion, pepper corns and star anise to the pot
  4. Pour boiled water over everything until the chicken bones are just submerged
  5. Bring to the boil* 
  6. Remove scum from the top with a slotted spoon
  7. Reduce heat and simmer for about half an hour, removing additional scum that might surface as required 
  8. Once the veges start going soft, remove the stock from the heat.
  9. Pull out the chicken bones first and set aside
  10. Strain the rest of the stock. You can use a strainer and/or cheese cloth
  11. Return the stock to the heat and add in finely grated ginger, white pepper and salt**
  12. Bring stock to the boil and let it reduce to about 2/3s of the original amount. So if you started with 3l of stock you want to reduce it down to 2l. Be sure not to over reduce the broth as you will be left with seawater. The key is to keep tasting it
  13. For a quick meal, pull off some of the chicken meat from the bones and chuck in dried noodles and some bok choy to cook in the broth. 

*This step is really important as it brings all the scum or froth to the top, once you remove this you get a much clearer broth 

**Don't add in too much as you are going to reduce this down, start minimally and add as you go 


Thursday, 4 May 2017

Pea and Lentil Soup- 4 litres for $4

Soup season is upon us! And it has come with a vengeance. Last winter was my first winter here in Rotorua and I barely survived, that was with my internal pregnancy heater! Seriously though Auckland might as well be Bali, compared to the winters we get down here... yes I am aware it is not yet winter. 

This soup, almost seems to good to be true. It is silky, luscious, hearty and so, so so good. But it literally costs less than $4 to make! Nothing out of a packet, no pre-made sachets. All from scratch. The secret? Vege Scrap Stock! 

Two things I love, is a good homemade stock and zero waste! I saw a facebook video someone shared a while back on vege scrap stock, and just had to give it a go. Disclaimer with this recipe, because what you are putting in your scrap bag is inconsistent, it obviously will not always taste the same. This batch of stock was quite sweet because I had just done a whole lot of stewed apples, just bare that in mind, that you will not have the same consistency you would get with store bought stock. 


Vege Scrap Stock

So I started a large glad snaplock bag and every time I cut veges, I would pull it out and all my scraps to it. Things like onion skins, apple cores, rosemary branches. If it's biodegradable, it went in the bag. When the bag was full: 

1. I separated the scraps into two pots
2. Filled with water and brought to the boil on a high heat
3. Reduced heat to a low-medium and let it simmer uncovered for 30 mins. 
4. Let is cool
5. Strain and fill your ice- cream containers
6. Freeze! (Will keep for months in your deep freeze) 

Yesterday was one of those day, where the only thing that went right was my soup. JJ is cutting his first tooth, poor bugs cheeks are so red, being the sooky he is, he literally needed to be carried all day. Shyra-Beth was in full blown terrific two mood, which included a 45 min rampage through the house. I literally needed to make something I could just chuck on stove and kinda look at it ever 15 mins or so. 


This is cheap, lazy, peasant food at it's finest- Pea and Lentil soup. The sweetest from the peas, nuttiness from the lentils, heartiness from the potatoes, all accentuated by the humble salt and pepper is the perfect "come home from work to" meal. You can totally make this in your slow cooker too! 


Pea & Lentil Soup

4 litres of vege scrap stock
Approx 350g of frozen peas (I used a third of a 1kg bag) 
4 medium sized potatoes chopped roughly 
1/2 cup yellow lentils
2T lemon juice (just bottled) 
Salt and Pepper 
Parsley

1. If you have time to defrost your stock, do so otherwise just put in a big pot on a low heat and let it melt.
2. Once the stock has melted, add your lentils and potatoes and simmer on a medium heat
3. Once the lentils are just starting to break down and your potatoes soft enough for a fork to run through add your frozen peas till those are cooked. 
4. Blitz with a stick blender 
5. This is where it depends on what your stock tastes like. I felt it needed some acid so I added Lemon juice and salt & pepper and some chopped parsley for freshness! 
6. Served with some of our absolute favourite, Ploughmans Pumpkin Toast! 


Being a breast feeding mumma, with a teething baby, I did need some protein. So I stirred through some left over pasta mince we had from the night before and it was so good. So this soup does make a good base if you want to add other things to it like ham, corn or chunky veges. But it is just fine on its own! 


Wednesday, 26 April 2017

Coconut Panna Cotta with Charred Mango

We just had such an amazing weekend with our friends The Reynolds. We have this on-going tradition where whenever we have a meal together, I always make something bizarre. Once it was Vietnamese Coffee Jelly or as Dan called it Jello-fee, another time it was my tofu cheesecake, which was awesome FYI! But anyway this time I decided to stick to a known favourite and not make them my food guinea pigs! 

Like I mentioned in my Rice Cooker Cheesecake post, I love having go-to no-fail desserts I can just whip up and this recipe is definitely one of them. I literally make it so often, I don't even refer to a recipe anymore, so I can't actually remember where I got it from, I think it may be a countdown one? Anyway lovely husband who is not a big dessert fan, is not a fan of this one normally, funny because he always seems to eat it anyway? But with the addition of Charred Mango, I think I might just have a convert! 

Being a coconut panna cotta there's various things you can serve it with. I've done lychees, palm sugar toffee sauce and toasted coconut, lime and mint. Feel free to use whatever you have on hand or is seasonal! 

You totally have to excuse my unmolding skills in the photo as my friends were making me laugh and JJ was screaming for me to feed him so I had to rush them out of their ramekins, normally they come out pretty perfectly! 


Coconut Panna Cotta with Charred Mango

400ml can of coconut cream
250ml Cream
1/2 cup of white sugar
2 teaspoons of gelatin powder dissolved in 2T of hot water

2x Ripe Mangoes Diced
25g Butter
2T Brown sugar


1. Add Coconut cream, Cream and sugar to a pot and bring to the boil stirring, to dissolve the sugar
2. Dissolve gelatin in hot water
3. Once Cream mixture has come to the boil, add gelatin whisking continuously
4. Pour into ramekins (I normally get about 6 very full ones or 8 which are 2/3s filled) 
5. Place in fridge till set 
6. To remove from the ramekins, sit on the benchtop for about 10 mins and then slowly run a very flexible small rubber spatula around the edge

1. Dice Mangoes
2. Melt butter and sugar in a hot saucepan
3. Once this mixture is frothing add your mango and keep the heat on high so that the sauce reduces around the mango. 
4. I like to keep the mango in the pan till it is just started to blacken 


Wednesday, 19 April 2017

One Blender Peanut Satay Sauce

We are big fans of the old Satay Sauce in this house. Being from Singapore, I grew up with the real thing. Road side satay smoking on hot coals, the delectable scent is unmistakable! So when I came to New Zealand and ate these so called pre-marinated satay kebabs which were really just glorified peanut butter and soy sauce, it was a bit of a shock to the system. Thankfully my mum introduced me to Yeo's Satay Sauce, a Singaporean made sauce which is the closest to authentic Satay Sauce as I've been able to find in a jar. Problem. It is like $5.79 a jar at Pak n Save!

I got it in my head the other day I needed charred steak with satay sauce so I looked up a few recipes but in the end just ended up slightly adapting a recipe I found from The Spruce . So if you want the original recipe feel free to check them out. 

Like all good Thai sauces the sauce has to be a perfect balance of  the 4 S's Sweet, Spicy, Sour and Salty. However all our palette's are different so what may be perfect for me may not be for you. So use this recipe as a guide and then add little by little to adjust until you find your perfect balance. 

One Blender Peanut Satay Sauce

1 cup of dry roasted  unsalted peanuts* 
1/3 cup water
3 cloves of garlic chopped
2T fish sauce 
1/2 tsp Ketchup Manis (Sweet Dark Soy) 
2 tsp Sesame Oil 
50g Palm Sugar grated 
1 thumb size seedless Tamarind 
1 green chilli 
1/2 can of coconut cream 

1. Roast peanuts off in the oven until golden**
2. Place all the ingredients in the blender and blitz until you reach your desired consistency. I prefer it smooth than chunky 
3. Find your perfect balance

Sweeter- More Palm Sugar
Spicier- More Chilli or dried chilli flakes 
Sourer- More Tamarind
Saltier- More Fish Sauce 


*I bought a bag for skinless, blanched peanuts for about $3. This should last me about three portions of the Sauce I think

** I just put them in the oven while my cupcakes were baking to save power 

The thing I love about this recipe is that it is deliciously authentic, easy to make but also versatile. You can use it as a dipping sauce, marinade, curry base. I used half this portion to top over charred rump steak (which I overcooked) so the sauce really saved it! The other half I cooked up with thinly sliced rump on a a low heat till all the liquid had evaporated and it just left a satay type crust on the meat. This then went a satay beef and caramelized onion pizza, which was dinner tonight! One rump steak ($9) and one portion of sauce (approx $3) = 2 dinners! Will be sharing the pizza recipe tomorrow! 


Thursday, 13 April 2017

Rice cooker cheesecake

I'm a lover of baked cheesecake. Like actually if you ever want to bribe me, cheesecake is the way to go. So when I saw this video make its rounds on facebook I was utterly intrigued so I started reading up different blogs where people had tried this recipe. From this research I came to the conclusion that this recipe would render the amazing sticky, dense texture of of baked cheesecake without the fear of overcooking and having it sink, crack and go dry (sounds just like my skin during pregnancy). so I just had to try it for myself! 

Being of Indian descent one does not normally leave my house without being fed, and as we are all about the spontaneous hangs (after the toddler is in bed) I'm always after quick dessert recipes with ingredients I can always have on hand. So I adapted the recipe I found, by using more long life/shelf stable items. That way if I ever have surprise guests round for dessert or afternoon tea all I have to do is pull out my mixer! From what I tasted it didn't seem like these changes affected the integrity of this cake at all! 

FYI- Foil wrapped original Philadelphia Cream cheese has a shelf life of 3-4 weeks! Defo one you can easily keep on hand. 


Ricecooker Cheesecake


200g cream cheese
2 eggs
200ml UHT cream
2 T lemon juice (I used bottled)
100g sugar
40g flour sifted


  1. Take the cream cheese out of the fridge about 15 mins before using or just soften lightly in the microwave
  2. Cut into cubes and put in the mixer, mixing at a medium speed
  3. Add eggs, sugar and lemon juice
  4. Increase to a High speed and mix until mixture is smooth and has no lumps. You may have to scrape the bottom and sides of the bowl with a spatula once or twice during this process
  5. Add cream
  6. Slowly add your flour, this was where I started getting lumps so I decided to do step 7, however if your mixture is smooth, feel free to miss this step
  7. Strain your mixture into your rice cooker tin
  8. Go through 1-3 rice cycles until the cake looks cooked* 
  9. Let it cool in the pan for about 30 mins and then run a rubber spatula right around the sides and slightly under the cake if your spatula is bendy enough. This should allow you to flip it out with no trouble!


*Now this is where it differs from cooker to cooker and blog to blog.I have a ninja rice cooker that cooks brown rice, porridge, steams or cooks rice super fast. I put it on a normal white rice cycle, but ended up doing it three times (around 40 mins) You will know when the cake is done because your skewer comes out with sticky bits of the cake on it, not sloppy batter, it doesn't wobble when you shake the pan and it is starting to come away from the sides of the rice pan- which shows the crust is formed


Cheaters White Chocolate Ganache


50ml UHT cream
1/2 cup of white chocolate buttons


  1. Place half the buttons and the cream into a ramekin and microwave for 30 seconds
  2. Give it a good stir/whisk with a fork and then add additional buttons and whisk till you get a lovely smooth consistency
Also I'm fully aware I totally need to up my photo game with these recipes! 


Wednesday, 12 April 2017

3 Chicken Breasts = 2x lunches and 2x dinners

I'mmm back!


So I was pretty terrible at this last time and kinda gave up, so my aim this time is to post at least once a week. Mumma of two, wife of one. I feel like this is doable.

Hands up if you are on a budget???

That would be a big fat yes from us! At the moment we only have to feed two adults and a fussy toddler. Hats off to the mums who feed tribes of six or more on a daily basis!

3 chicken breasts stretching out to 4 meals. Yes I know what you all are thinking. But seriously I did it, last week!

So Apricot Chicken is definitely a family slow cooker fav in this household. Normally I do it with a bone in cut such as thighs or drumsticks but on Tuesday, pre-tongue tie release, both babies were pretty full on, it was raining hard and I couldn't be bothered going down to the laundry shack where our deep freeze is to grab drumsticks so instead I just chucked 3 frozen chicken breasts into the slow cooker with all the other apricot chicken things and we left the house. When we got home my first thought was, why does this house not smell like apricot chicken. Yup, I forgot to turn the slow cooker on at the wall! Anyway thankfully we had easily defrostable food in the freezer and seeing as I had put the chicken in frozen it had barely defrosted all day anyway so I simply just let it cook.

These are the four meals we got out of the Apricot Chicken

Lunch #1- Apricot Chicken Sandwiches with Ploughman's Pumpkin bread, Lisas Jalapeno and Lime hummus and cucumber (PS. If you haven't tried this Pumpkin bread.. you need to! Its savoury tones are just perfect on ones palette) 

Dinner #1- Apricot Chicken and capsicum stuffed tortillas

Lunch #2- Apricot Chicken Pot Pie with cheaters chicken filling

Dinner #2- Apricot Chicken Pie with cheaters chicken filling and mixed veges

Yes I know we had pies twice, but seriously that filling was unbelievable!

PS. Sorry about the lack of photos as these were quick meals, generally made mid-appeasing a toddler and rocking a bouncer with my foot, photos weren't really a priority! 

Apricot Chicken

3x Chicken Breasts

2x Cans of Apricots
2x Sachets of Maggi French Onion Soup
4x Onions

1. Cut the onions into rings and place in the base of your slow cooker till it is entirely covered
2. Place the chicken breasts on top of the onions
3. Pour Apricots and the soup mix into the bowl and give it a good stir *
4. Pour the soup mix and apricots over the chicken breasts and cook on high for 3-4 hours or until the chicken pulls apart easily with a fork
5. Pull apart the chicken and mix well with the oniony/apricot liquid
6. Cook on high for another hour until the chicken has absorbed a lot of the liquid and the apricots are almost fully broken down
7. Remove from the slow cooker put in a sealed container let it cool for 20 mins put it in the fridge. You can divide it up here and put it in different containers if you wish.

*Normally I only put half the amount of liquid in with a bone-in cut, since I won't be getting much moisture from the breasts I used all the apricot liquid

Stuffed Tortillas

I don't like calling this dish quesadillas as there is nothing mexican about this apart from the fact I'm using tortillas. This is a total go-to dish in our family because the toddler loves it, and you can put just about any filling in there as long as you have cheese and sauce to bind it together! Tortillas/wraps are so versatile to keep in the pantry just make sure you store them in a ziplock bag to keep them fresh! 

1 cup Apricot Chicken

8 Tortillas
2 Carrots grated
1 cup grated cheese
1 capsicum diced

1. Pre-heat oven to 180 degrees celcius on fan grill
2. Spread 2 T of shredded chicken across 4 Tortillas
3. Top with carrot, capsicum and cheese and place the other tortilla on top
4. Grill for 4 mins on the first side and 2 mins on the other side

Eat!

Apricot Chicken Pie

Josiah lovesss my cheese sauce, like actually loves. So I don't actually use a recipe to make it anymore but the recipe I did learn to make it from is the Edmonds one, linked below. The recipe recommends 1 cup of warm milk, but as you want a firm-ish pie filling I would start with half a cup and add more if necessary, go by what it looks like. The key to a smooth sauce is always keep whisking! Also if you are feeding a family of four adults I would totally pair this with mash potato or a potato salad to make the pies go further 

Aprprox 2 cups Apricot Chicken or whatever is left
4 sheets of rolled out Puff Pastry
Edmonds Cheese Sauce
1 Capsicum Diced


1. Put Apricot chicken on a strainer and drain some of the excess liquid. You don't want it incredibly dry, but you don't want your pie filling runny either
2. Make cheese sauce
3. Add your cheese sauce to your chicken and capsicum slowly, until you achieve your desired consistency. You are wanting something that resembles a creamy dip. 
4. Ehh presto! Put in your puff pastry any- way you choose! 

a// Place filling in ramekins and place the pastry over the top for a pot pie
b// Cut pastry into four squares place the filling in the middle of one square and put another square on top, with a few horizontal slits- See photo below. That's what I did but you want to be sure your pastry is sealed really well, using a fork works best
c// Line a pie dish with pastry, fill it and place more pastry on top

5. Egg wash the pastry and bake in a fan forced oven at 180 degrees Celsius until golden and flaky 


Sunday, 14 February 2016

Tofu Cheesecake? Ummm what?

WOW it has been a year! A WHOLE year! But I am determined to get this blogging thing going again. More so because I wrote and directed a Christmas Production last year (bucket list item check) and I have been feeling creatively itchy again...

So I am obsessed and I mean obsessed with My Kitchen Rules. Like I actually sometimes think about who I would do it with, what our back stories would be, what meals I would cook and which sort of contestant I would be most like... so yeah OBSESSED! 

On the latest MKR NZ there was a couple that made a Tofu Cheesecake, and I was like ummm what? I mean I love Tofu as much as the next Singaporean girl but in a cheesecake? Anyway they ended up getting rave reviews from the judges and my curiosity got the better of me so our last trip to the Chinese Supermarket, I couldn't help but pick up two packets of Silken Tofu.

But there they sat in our fridge for like a week till I finally gathered up my courage to get to it. Funnily enough the day that I had time to make it also happened to be the day that we had friends coming over for a battle of the sexes Cranium Match. So I had some wonderful guinea pigs! I had previously tried Jello-fee (Vietnamese Coffee Jelly) on them, and they were very gracious, so what the heck I thought let's give this a go! 


BTW the girls were totally owning the whole way and the boys beat us right at the end... needless to say I will not be forgetting the backwards spelling of deodorant anytime soon! 

Anyway because tofu is so entwined with the whole vegan thing, all the recipes I found either looked weird or had things in it that my pantry does not/will never contain. So I did what I have learned to do over the last year-trust my gut and ADAPT! I used the original MKR recipe as a guide for quantities and the result was pretty awesome! Hubby doesn't particularly like dessert but LOVEDDD this one and I was worried about a tofu-ey after taste but once it is chilled it just tastes like chocolate cheesecake! I even gave a quarter of the cake to my parents and brother who ate it happily and had no idea it was tofu until I told them! 

Here's the recipe! 

Chocolate Tofu Cheesecake


Ingredients

Filling
2x packets (150g) of Smooth Silken Tofu
100g of dark cooking chocolate
6T icing sugar
1T of Vanilla Extract
2T of Lime Juice
1 pinch of salt 

Base
100g melted butter
1x packet of vanilla round biscuits 

Instructions For the base
  1. Line round baking tin with baking paper
  2. Melt butter
  3. Blitz biscuits in a food processor till fine
  4. Combine the biscuits with the butter and press down in a round tin
  5. Chill in the fridge while you make the filling

Instructions for the filling

  1. Melt Chocolate*
  2. Using a muslin/cheesecloth drain as much liquid as possible from the tofu
  3. Whizz Tofu in the food processor until smooth-ish
  4. Once chocolate has cooled slightly pour the chocolate into the food processor with the tofu. Whizz again till combined
  5. Add vanilla, sugar, lime juice and salt (if you prefer a sweeter cheesecake add a few more tablespoons of icing sugar) 
  6. Whizz together till you get an extremely smooth, thick, custard-like consistency 

Pour filling over the chilled base and return to the fridge for 2+ hours or till the filling has set! I didn't have freeze dried raspberry powder, so I served my cheesecake with boysenberry jelly instead! Enjoy!


* I know the proper way to do this is on a double boiler but seriously... a microwave works just as well. I just put in half a tablespoon of milk and stopped and stirred every 15 seconds till you get a smooth ganache like consistentcy

Sunday, 29 March 2015

Apple Donut Goodness

Right so this week has been a wee bit hectic with me being back at work x2. I say x2 because I'm actually doing two jobs. Couple of hours working for the youth department at our Church and taking on 6 Musical Theatre groups. This was our first week of doing both and SB was AMAZING as she  comes to both work places with me. Check out the smile I got while she sat next to me on the couch when I worked from home on Wednesday. How delicious is she? 


Anyway she was in bed by 8:30pm tonight and I went to put the kettle on to make my new favourite "nightcap" Red Seal's Apple and Elderflower tea and watch My Kitchen Rules on youtube. The thing is the kettle didn't work so I asked J to come and have a look at it and he fixed it, but turning it on at the wall, but by that time I was firmly implanted onto the couch and had absolutely no energy to get up and make myself tea. Anyway on MKR the dessert they made were Italian donuts. I got up to get a glass of water and there they were staring me in the face. Deliciously tart green apples and this amazing Merlot J got from work which I have been rationing over the past month. Now J has this thing whenever deep frying is mentioned he get's all excited like a kid on Christmas morning and goes ooh oooh ooh we can make apple donuts! And for some reason watching donuts being fried on MKR gave me the inspiration to make these bad boys. 

Super easy to make, deliciously indulgent. We both especially love the tart taste that comes through from the green apples that makes this dessert not to sweet...but don't do a me and smoke out the house at 10pm. The best thing is that these are ingredients that most of us have on hand all the time.

The Paul's Apple Donut Goodness


3 Green apples cored and sliced very thinly so they are donut shaped with a hole in the middle (I didn't have a corer thingy so I just halved and sliced them) 

Batter
1/2 cup of flour
2 T Brown Sugar
3 t cinnamon
Water

Coating
Cinnamon
Icing Sugar

1. Heat oil in a pan, just a shallow amount. Approximately an inch. *Putting the lid on, gets the oil hotter, faster

2. Sift flour, brown sugar and cinnamon in a bowl. I like the batter on this nice and thin, almost like a tempura, so I add water in until I get the desired consistency I like, which is almost as thin as milk. But if you like your batter thicker go for a custard like consistency

3. To test the heat of the oil, drop in a bit of batter and see how long it takes to go brown. Adjust your temp from there. I ended up needing to lower the temp on my oil as my first apple went black in 20 seconds

4. Once you get your oil to a desired temp, coat your apples and stick them in the oil, they should take 30-50 seconds

5. Put them on a kitchen towel to drain excess oil

6. If I were making these for guests I would dust them individually with my cinnamon, icing sugar mix but as it was 10pm, my house was smoky and the Blacklist was loaded ready to go, I simply put a few tablespoons of icing sugar in a bowl with a generous sprinkle of cinnamon and then tossed the apple donuts through. 


Yes J did complain about the smoke but once he had implanted himself next to me on our couch with a bowl of apple donuts on one knee and a bowl of ice cream on the other, there were no complaints in this house hold!

Enjoy xx